A STEP-BY-STEP GUIDE FOR
At-Home Dental Impressions
We recommend going through the full guide before starting on your impressions.
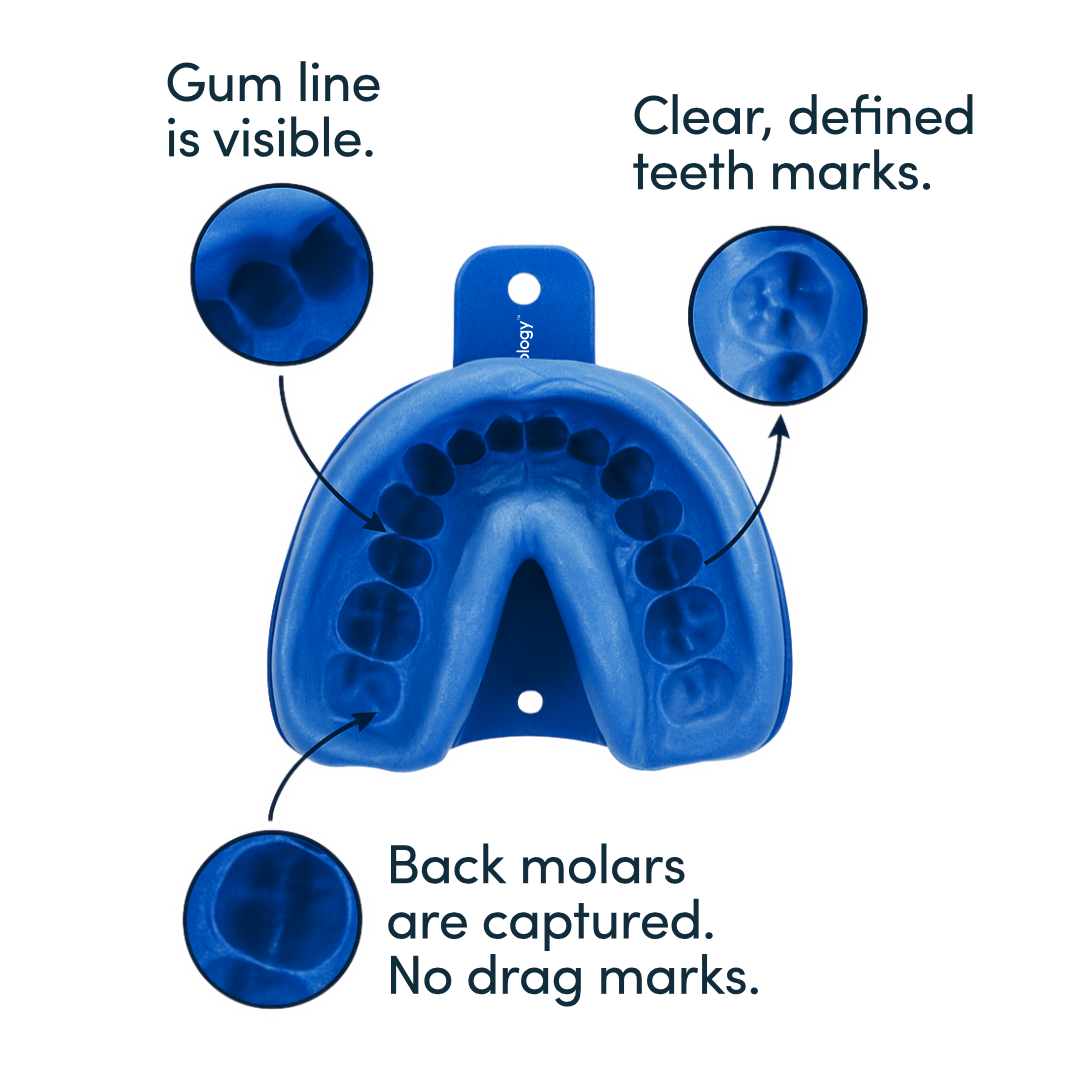
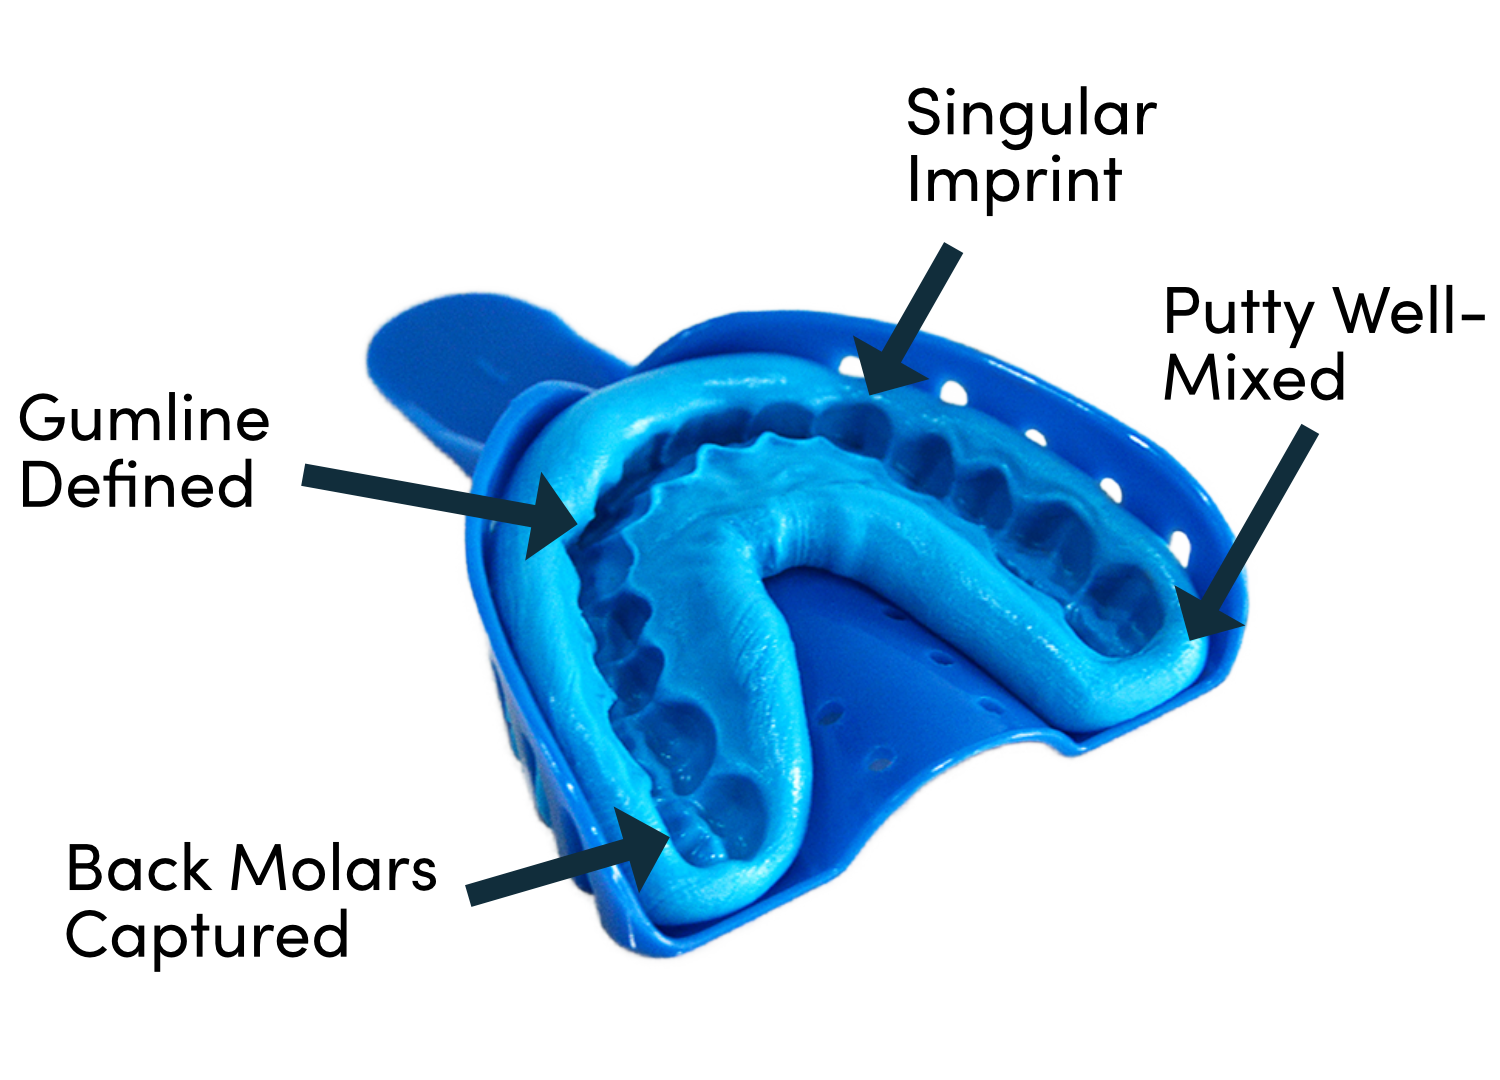
Example - A Good Upper Impression.
- The putty is mixed well ✅
- All teeth were captured (even the back molars) by pressing and holding up with the thumbs ✅
- The impression tray was taken out of the mouth AFTER the putty had fully set/hardened ✅
- Impression was placed in the mouth quick enough (within 45 seconds of starting to mix) ✅
1. Preparation
Firstly, you need to make sure you have everything you need before starting.
-

Towel
It's not pretty, but you may drool when you take your impressions out.
-

Timer
Get a timer ready to track where you're at.
-

Trays
Begin by selecting one of the trays and verifying its fit by placing it in your mouth.
-

Putty
Retrieve the containers of white & blue putty. If they're warm/cold, allow them some time to reach room temperature.
-

Gloves
Use the gloves included in the box to avoid making a mess and maintain hygiene.
Secondly, verify which size fits you the best. Your kit includes 2 upper trays (small and large) and 2 lower trays (small and large) - see the image below.
1. Find a mirror and wash your hands.
2. Try each tray size (one at a time) - Place the smaller tray into your mouth like you’re taking an impression (no putty yet). Repeat with the large tray.
3. The right tray should - fit comfortably without feeling too tight, cover all of your teeth including the very back molars, not press painfully into your gums, sit evenly and feel stable in your mouth.
4. Choose the lesser-fitting tray first — this is the one you'll use for your trial impression (which you'll send us photos of before proceeding with others).
5. Don’t throw the other trays away — keep them aside as you'll need them.
2. Mix & Shape
Let's move onto the process of mixing and shaping your first dental impression (this is a trial you will send us photos of for feedback before proceeding).
- Put on your gloves
- Dry your teeth with a tissue so they are ready for the impression mould
- Once it is mixed, the putty will start hardening/setting so ensure you read the next step before starting to mix. The putty will harden in 60 seconds.
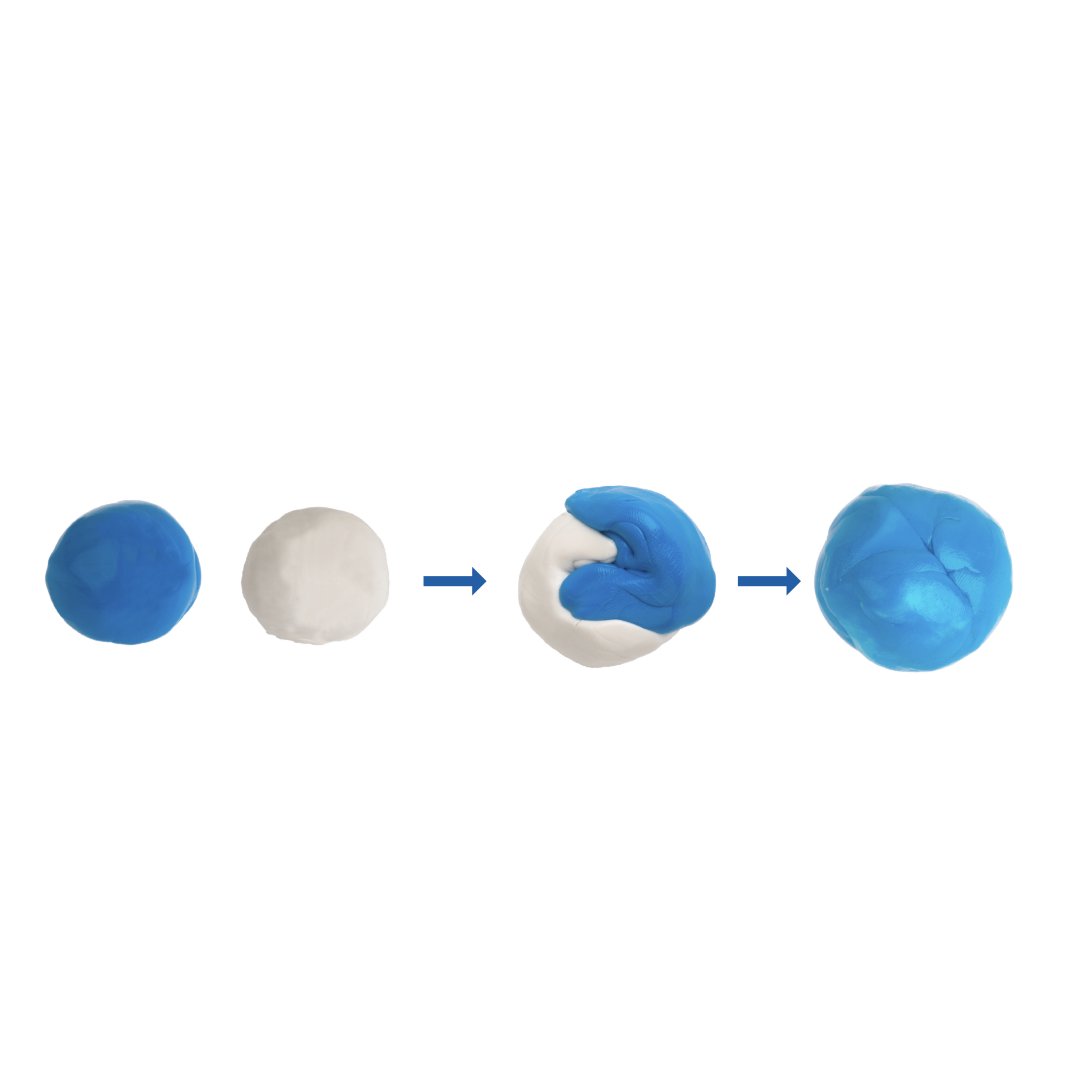
Mixing: Within 25 Seconds
Combine the white and blue putties until they create a single, uniform color without any noticeable swirls or streaks.
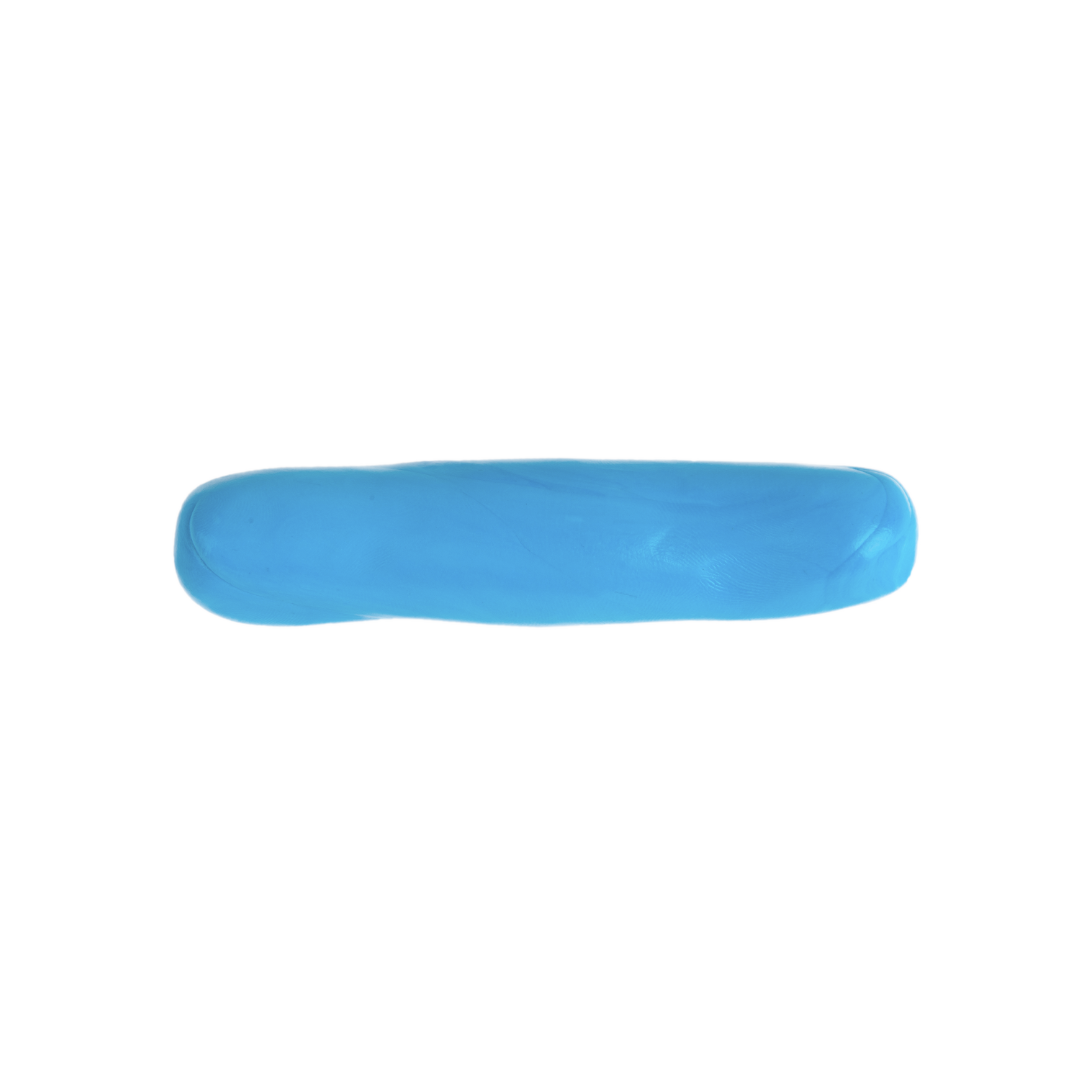
Rolling: Within 10 Seconds
Roll the mixed putty between your hands, shaping it into a consistent cylinder measuring 4 inches in length.
Placing: Within 25 Seconds
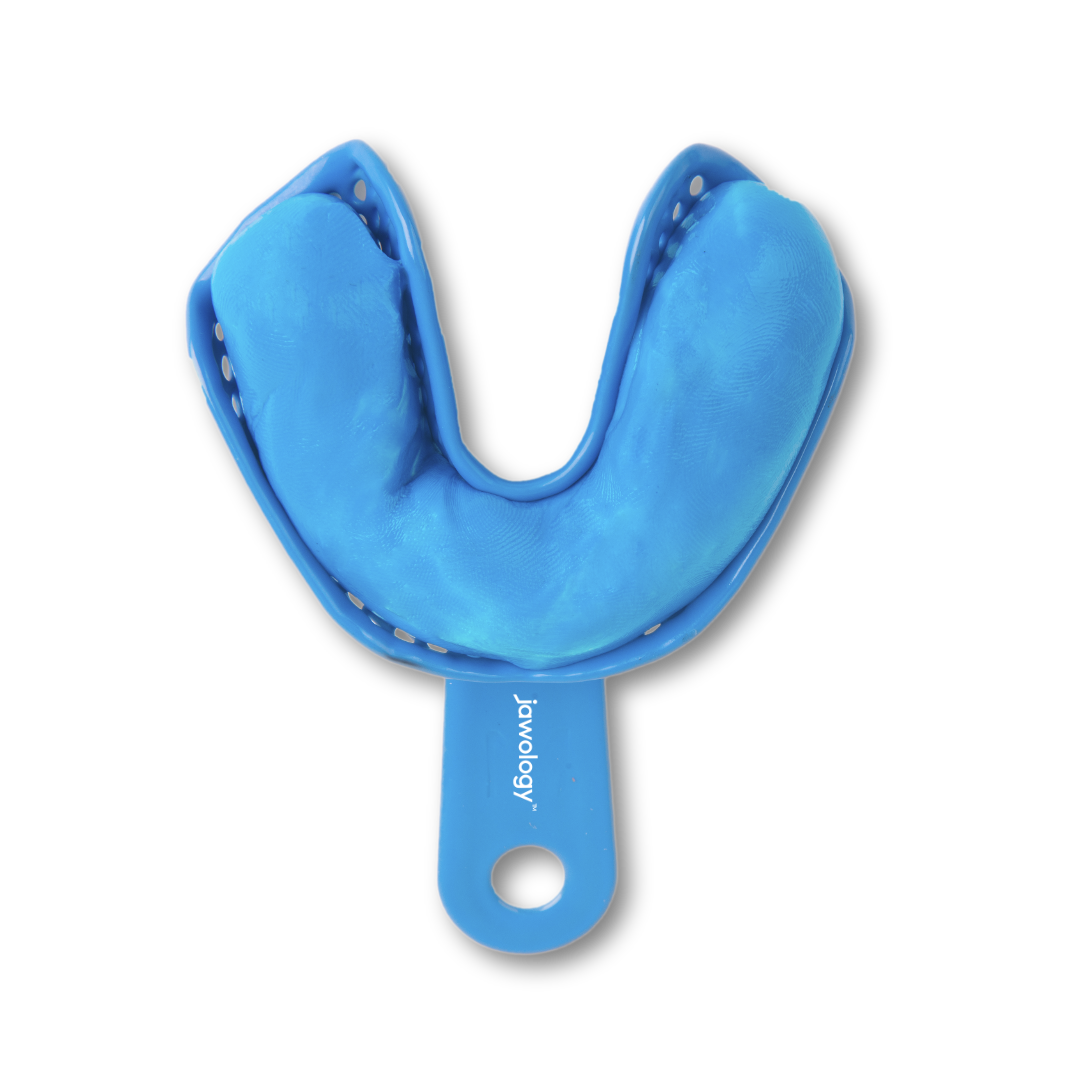
Insert the putty roll into the tray, ensuring it fills the entire U-shape all the way to the back. Don't apply pressure or push the putty in.
3. Impression Time
Now for your trial impression! Once the putty is evenly placed in the tray, examine it, then insert it into your mouth. Press it firmly, all the way over your upper teeth to create a detailed impression.
Important : Make sure to press it in as deep as possible and that it covers all of your teeth (even the back ones) completely. Avoid side-to-side movement (hold it very still).
Maintain the pressure with your thumbs for the next 4 ½ minutes.
Biting: 4 ½ Minutes
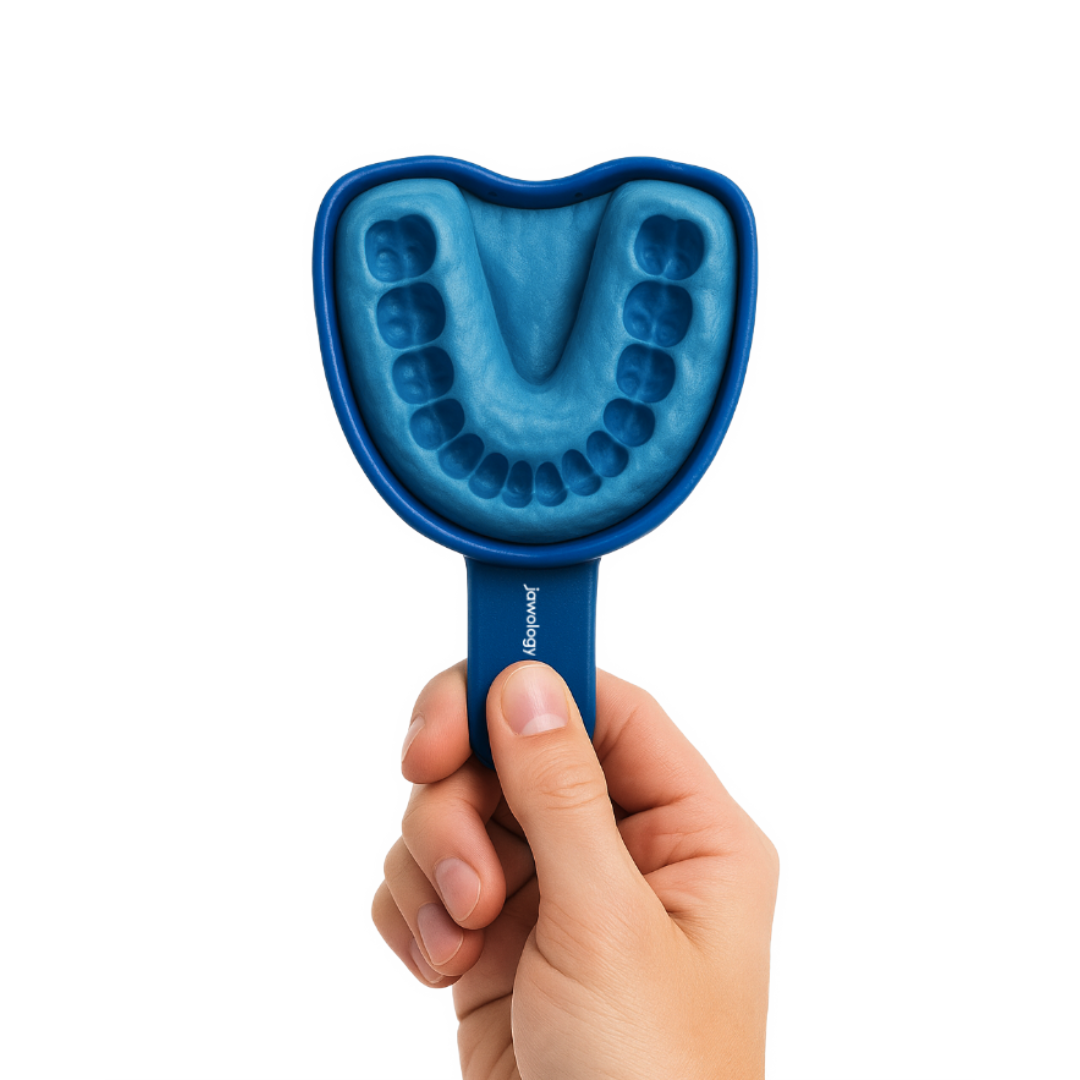
After 4 and a half minutes has passed, remove the tray from your mouth. There should be a clear imprint like the example picture.
Use this link to upload clear photos of your trial impression. We’ll review them and get back to you quickly with feedback before you take your final impressions.
4. Repeat The Process
After sending in your trial photos and receiving feedback, use the remaining trays and putty your final impressions. We want them all - flaws included!
Note: Don't remove impressions from trays.
Repeat: 4 ½ minutes for each tray
Even if you're doing a single arch treatment, impressions are required for both arches.
5. Return The Impressions
After you have finished all of the impressions, use the pre-paid return label provided to send them to our lab. Importantly, please include your name and 'Jawology' somewhere on/in the package so the lab can identify them quickly. They can be sent in a box, bag or padded mailer. Whatever is convenient for you!


