Skip to content Loading
Jawology

Impression guide

At-Home Dental Impressions

  • 30 Minutes total
  • Read before you start
  • Free express returns via pre-paid label

Read this guide in full before opening your kit. The process moves quickly once you start - knowing every step beforehand makes the difference between a great impression and having to redo it.

Step 1

Prepare

Before you open anything, take a few minutes to get set up properly. A little preparation goes a long way.

Don't open your kit yet
Read through the entire guide first, then come back to step 1 when you're ready to begin. Skimming the instructions is one of the most common reasons impressions need to be redone.
Brush your teeth
01 Brush and rinse
Brush your teeth thoroughly and rinse your mouth before starting. Clean teeth free of plaque and food debris give the putty a much cleaner surface to capture — this directly affects the detail quality of your impression.
Read the full guide first
02 Read the full guide first
Go through this entire page before you touch anything. The process moves quickly once you start — knowing what's coming makes a big difference.
Grab a towel
03 Grab a towel
With a tray in your mouth for 4½ minutes, drooling is normal. Have a towel nearby so it's not a problem.
Get a timer ready
04 Get a timer ready
You'll need it twice — once for mixing the putty and once for holding the tray in place. Your phone timer works perfectly.
Try each tray in dry
05 Try each tray in dry
Before adding any putty, place each tray in your mouth to get a feel for how far back it needs to go. It should comfortably cover all your teeth including your very last molar.
Dry your teeth
06 Dry your teeth
Use a tissue to firmly dry your teeth and gum line immediately before inserting each tray. Saliva builds back up within seconds, so do this right before every single impression — not just at the start.

Step 2

Mix & Shape.

Once you open the putty, the clock starts. You have 60 seconds from the moment you start mixing to get it into the tray. Read through all three stages before you begin.

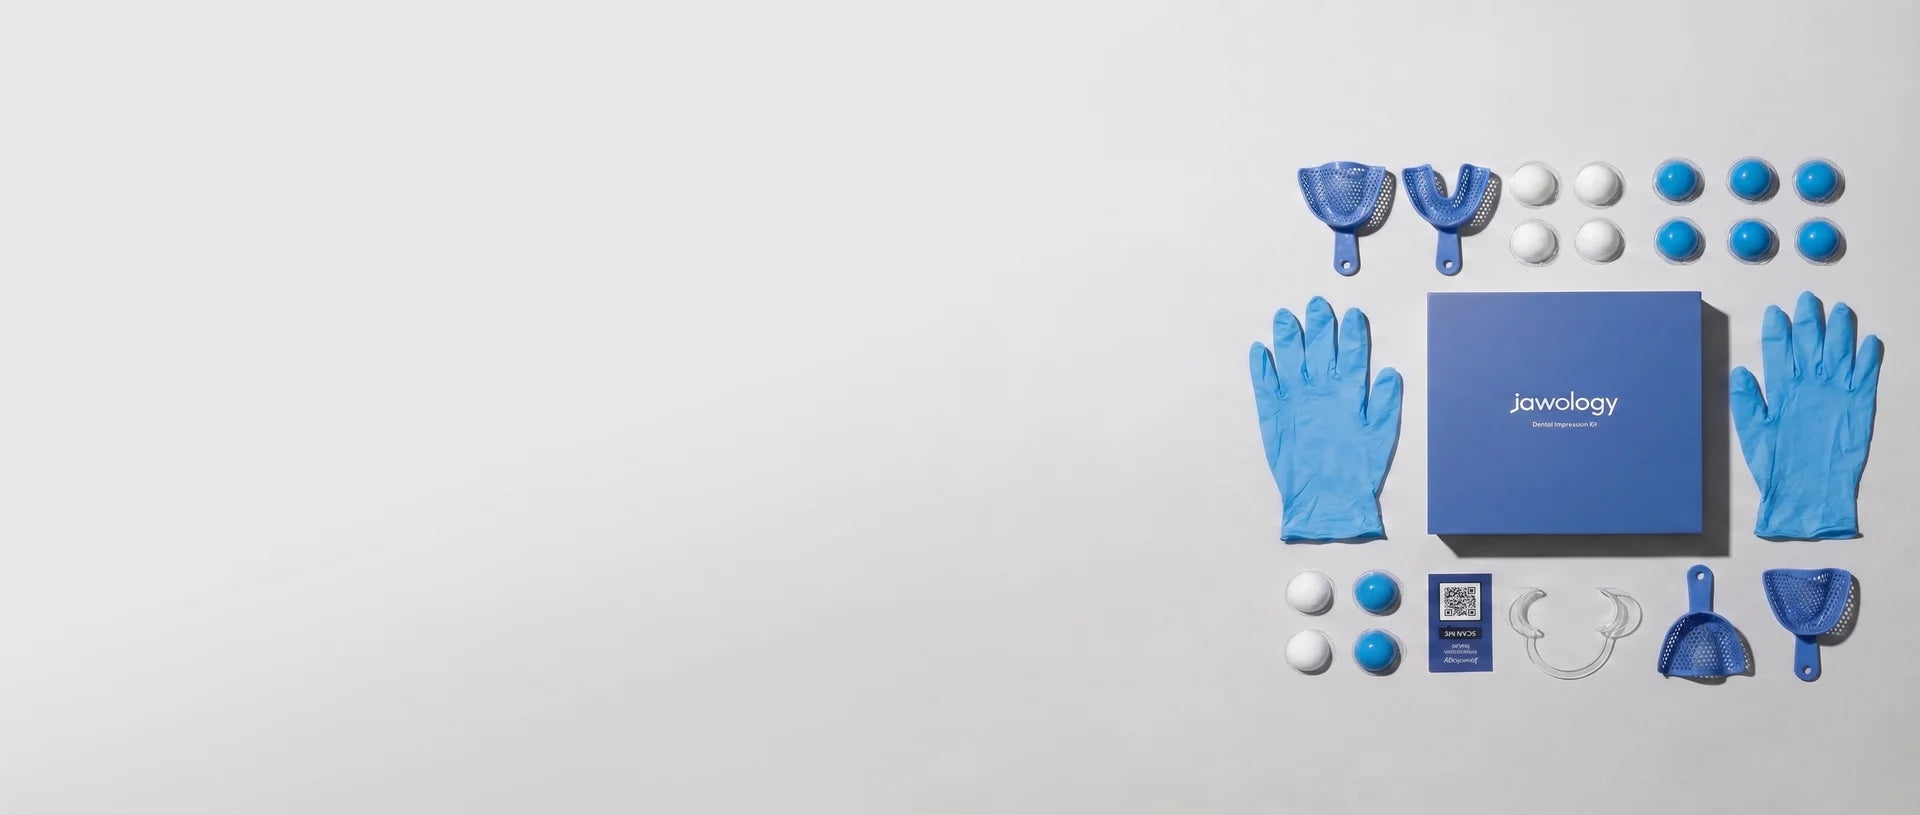
Put your gloves on before handling the putty to keep things hygienic and your hands clean.
Insert your cheek retractor before each impression to hold your cheeks and lips out of the way. Rinse it under water between trays.
Total working time
Mix25s
Roll10s
Place25s
60 seconds total
Mixing the putty
01 25 seconds

Mix.

Take equal amounts of white and blue putty and combine them in your hands. Knead until you have a single, uniform colour with no streaks or swirls remaining. Don't rush — an uneven mix affects the quality of your impression.

Rolling the putty
02 10 seconds

Roll.

Roll the mixed putty between your palms into a smooth, even cylinder roughly 4 inches long. Keeping it uniform means it will fill the tray evenly — avoid making it too thick at one end.

Placing the putty in the tray
03 25 seconds

Place.

Press the putty roll evenly into the tray, filling the entire U-shape all the way to the back and breaking off any that goes off the edge. Don't push or press it down hard — just lay it in so it sits evenly. You're now ready to take the impression.

Step 3

Take the impression.

This is the most important part. Once the tray is in, your only job is to hold it perfectly still. Read through everything below before you start.

01

Insert the tray

Open your mouth wide and insert the tray in one smooth, straight motion — no tilting or wiggling. Push it back far enough that it sits over your very last molar, then press firmly and evenly with your thumbs from underneath (upper) or fingers on top (lower). Make sure every tooth is covered before you start your timer.

Upper arch
Tilt your head slightly forward and down as you insert — this stops excess putty from flowing toward the back of your throat.
Lower arch
Keep your head level and your tongue relaxed — don't lift it or push it against the tray as the putty sets.
Strong gag reflex? Breathe slowly and steadily through your nose, focus your eyes on a fixed point on the ceiling, and lean slightly forward. Taking the upper impression last can also help as you'll be more familiar with the process by then.
02 4½ minutes

Stay completely still

Start your timer the moment the tray is in. For the full 4½ minutes, keep everything relaxed and motionless. Any movement during this time can distort the impression and ruin it entirely.

Don't
  • Talk or make sounds
  • Swallow forcefully
  • Push with your tongue
  • Move your jaw or head
  • Remove the tray early
Do
  • Breathe slowly through your nose
  • Keep your cheeks and lips relaxed
  • Maintain gentle, even pressure
  • Wait for the full 4½ minutes
03

Remove the tray

Once 4½ minutes have passed and the putty feels firm, it's time to remove the tray. Do not twist or yank — take it out slowly and deliberately.

Upper arch
Gently rock the tray forward to break the seal, then pull straight down and out.
Lower arch
Use a finger to gently break the seal at the back of the tray, then rock forward and lift straight up and out.
Example of a good dental impression
Good impression example
04

Check your impression

Before moving on to the next tray, take a moment to assess your impression. A good one looks like the example here. Use the checklist below to self-assess — if something doesn't look right, adjust your technique on the next tray.

All teeth are visible
If back molars are missing — push the tray further back on the next one.
Detail is clean and well defined
If teeth look blurry or smudged — dry your teeth more thoroughly before the next impression.
No gaps or voids in the putty
If there are holes or gaps — make sure the putty is evenly spread in the tray before inserting.
Impression is even in depth
If it's shallow at the front or back — press more firmly and evenly when inserting next time.
No stretching or distortion
If the putty looks uneven or warped — hold the tray completely still and don't remove it until it's fully set.
If you have crowns, bridges, implants, or missing teeth, your impression may look different in those areas — this is completely normal and expected.

Step 5

Send them back.

Once all four impressions are done, it's time to send them to our lab. Your prepaid return label is already included in the satchel your kit arrived in — no trips to the post office, no extra cost.

01
Pack your impressions
Place all four trays back into the box or satchel. Do not remove the putty from the trays — send them exactly as they are.
02
Add your name in block letters
Write your full name and "Jawology" clearly in block letters on or inside the package. This ensures there are no delays at the lab.
03
Attach the prepaid label
Use the prepaid return label included in your satchel. Stick it on the outside of the package — shipping is completely free.
04
Drop it in the post
Leave it in any Australia Post box or at your nearest post office. We'll be in touch once we receive them.
Lost your return label? Contact us and we'll send you a PDF copy that can be printed at any post office.

Running into trouble?

Send us a message and we'll get back to you within one business day.

Support

help@jawology.com

Your cart
Your cart is empty
Have an account? Log in to check out faster.
Continue shopping Continue shopping
Cart total $0.00 AUD
Product image Product information Quantity Product total